How do I add an MOTD announcement?
Go to Announcements.

Select the Announcements tool from the Tool Menu in the Administration Workspace.
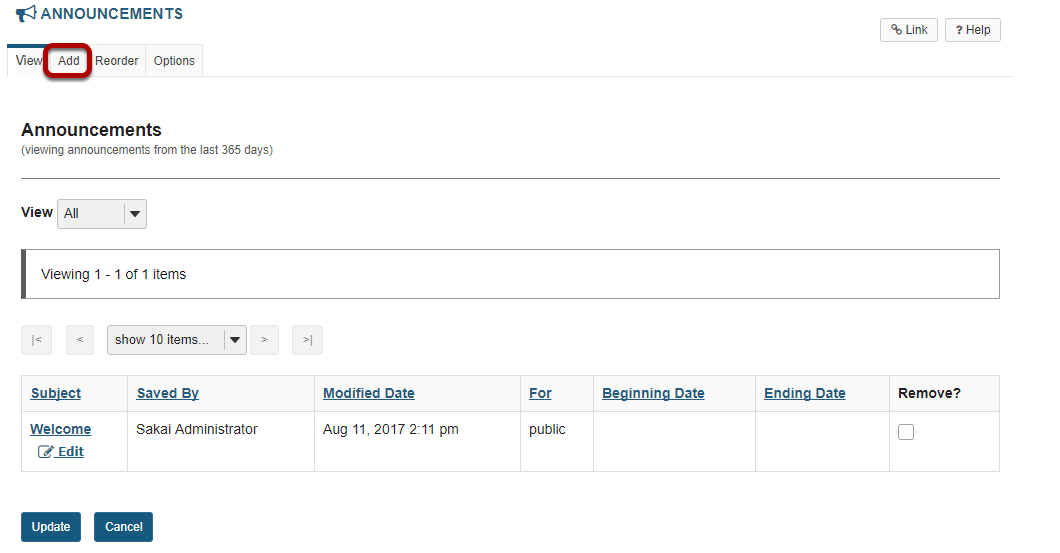
Click Add.
Title your announcement and add content.

Give your announcement a title, and then enter the content of the announcement into the rich text editor. You may use the formatting options in the editor to modify the font size or color, add images or links, or embed other content.
Access.
By default, all MOTD announcements are publicly viewable. This option cannot be changed.
Select when the announcement will be displayed.

By default, the announcement is displayed immediately upon posting. You can also choose to hide it (saving as a draft until you are ready to post it), or you may specify dates when the announcement will be available.
Select availability dates. (Optional)

If you want the announcement to display during a specific time frame, choose Specify Dates. Select the box beside Beginning and/or Ending and click the calendar icon to insert the properly formatted date and time when the announcement will begin and/or end.
Use calendar icon to insert date and time.

Click the date on the calendar, and use the sliders to select the time. Then click Done.
Add attachments. (Optional)

Click the Add Attachments button.
Note: Remember that if you include any attachments, the item must be in a publicly accessible location in order for users to be able to view the attachment. See What Resources are specific to admin users? for more information.
Click Post Announcement.
