How do I edit syllabus items?
Once you have added one or more syllabus items, you may edit item titles, dates, and in-line text through the Bulk Edit area of the syllabus tool.
Go to Syllabus.

Select the Syllabus tool from the Tool Menu of your site.
Click Bulk Edit.
Edit all item details for a single item.
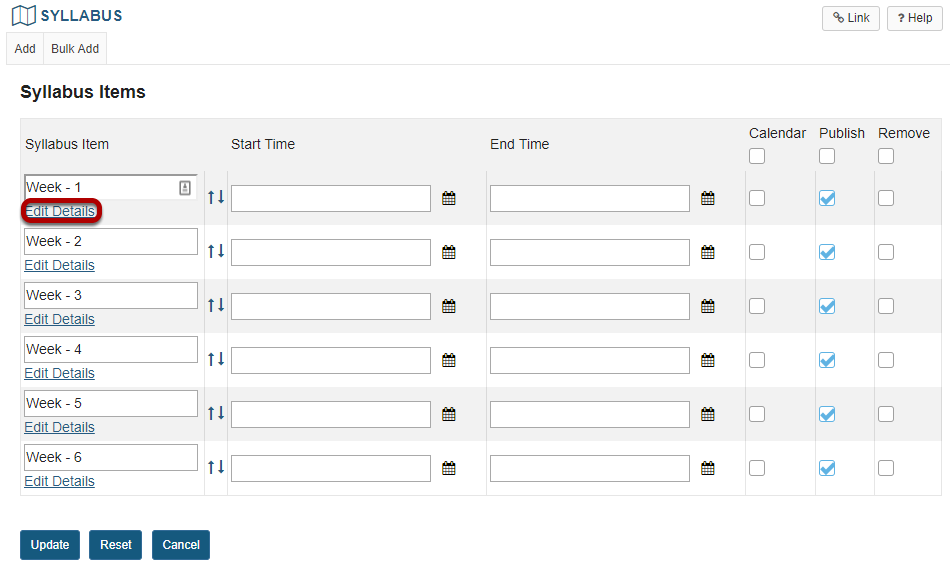
Click on the Edit Details link for the syllabus item you would like to modify.
Update item details and publish or save.

You may edit all of the details for a single syllabus item from this screen.
- Title: This changes the heading as it appears in the list of syllabus items.
- Content: The content area has the rich text editor available. You may enter or modify the in-line text displayed for this item.
- Access: Select the radio button for your desired access level. Syllabus items are only visible to site members by default. However, you can choose to make them publicly viewable.
- Attachments: You may add new attachments or remove existing attachments for this item.
- Start Date: This date indicates when the syllabus item become visible to site participants. Leave this blank if you want it to always be visible.
- End Date: This date indicates when the syllabus item is no longer visible to site participants. Leave this blank if you want it to always remain visible.
- Email Notifications: Select whether or not you want to send notifications to site participants. You may choose None - no notification, High - all participants, or Low - Not received by those who have opted out.
- Select Add and Publish if you are finished with your changes and would like the item to be published to site participants. If you are not yet ready to publish the item, select Save Draft to save your changes and leave the item unpublished.
Edit item headings.
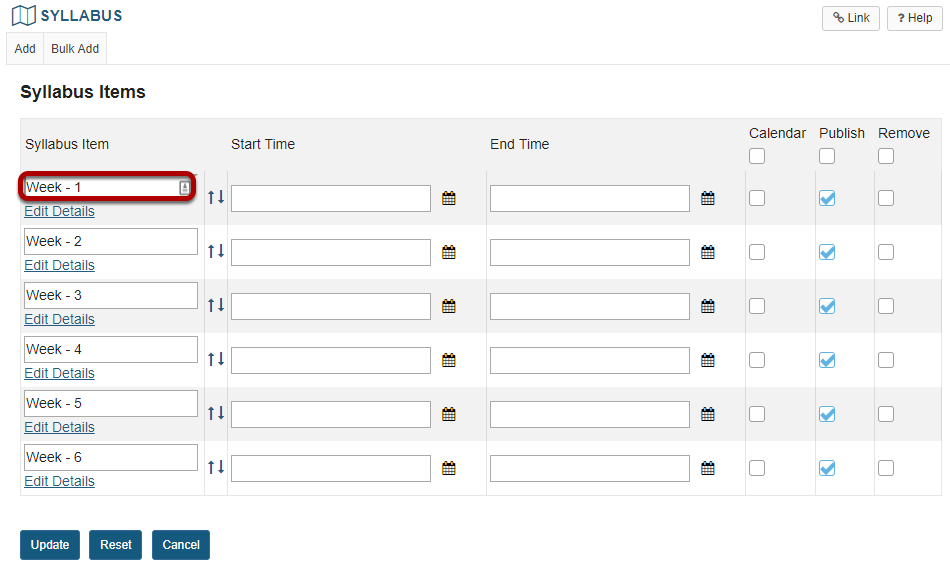
If you would like to modify a syllabus item heading, click in the text box for that item to edit the heading text from the item list.
Rearrange Syllabus items.

Click the up or down arrows to move the items into your desired order.
Select start and/or end dates.

Adding start and/or end dates allows you to determine a time range for viewing the item in the site calendar (if viewing the item in the calendar is enabled) as well as for informational purposes. It does not restrict students from viewing the syllabus item.
Click the calender icon in the start time or end time column to access the date picker. Select a date from the calendar and use the hour and minute sliders to select the time.
Add items to the Calendar.
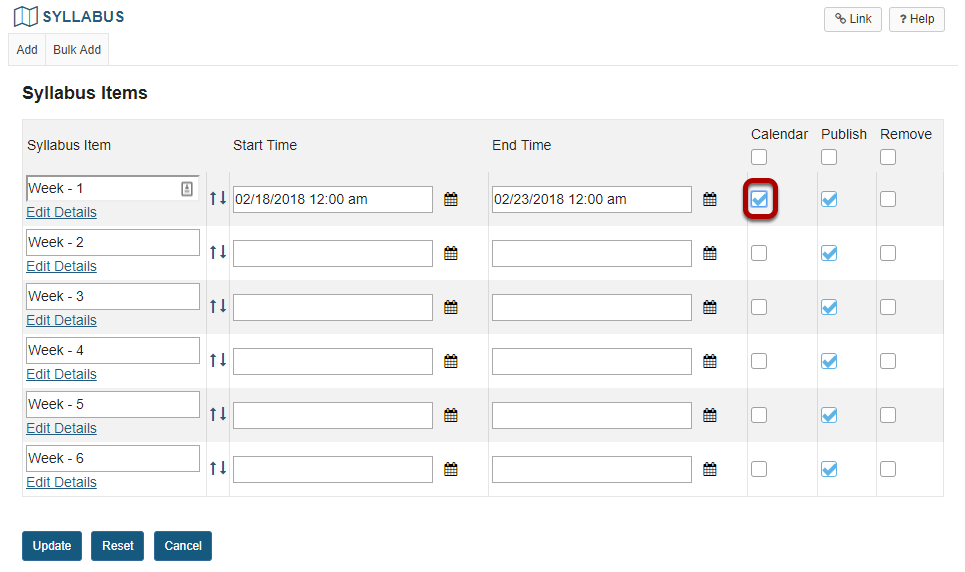
Check the box in the Calendar column to add that item to your course Calendar. Or, you may remove the check mark to remove the item from the Calendar.
Note: You must first specify start or end dates before adding the item to the Calendar.
Publish/unpublish items.
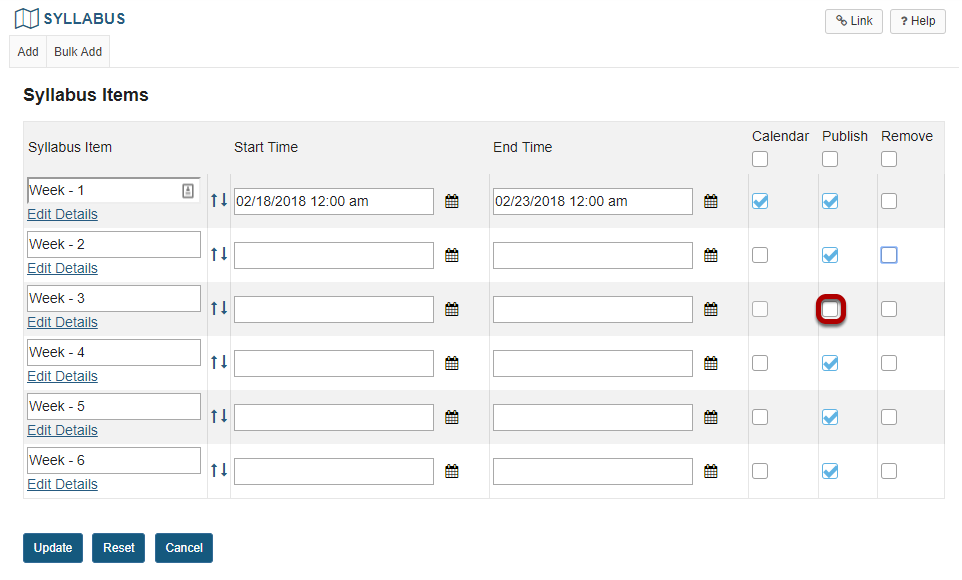
Check the box in the Publish column to publish an item. Or, you may remove the check mark to unpublish the item.
Delete items.

To delete a syllabus item, check the box in the Remove column.
Click Update.

If you have made any changes to syllabus items in this screen, click the Update button to save your changes.
Confirm changes.

Your changes will be summarized in the confirmation screen. If everything looks correct, click Update again to confirm the changes.