Organizing with Folders
If you want to share more than one file, it may be more useful to upload your files into a folder resource.
Creating a folder to organize your files and then uploading new files into that folder.
Creating a folder:
- Go to your course and turn on editing via the button at the upper right of the page.
- Under the week/section that you wish to add a folder, click the "Add an activity or resource" option, which will open a new pop-up window.
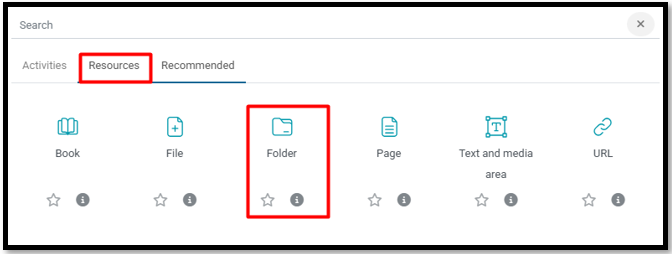
- On the “Add an activity or resource” window, select the Folder option and click the "Add" button.
- Type a “Name” for the folder, which will display on the main course screen. Also add a “Description” of the folder (optional).
- Than click on the "save and display" button.
To add files to your folder(s):
- Click the "edit" button at the left top of the page.
- Upload your files directly by clicking the "add" button at the top of the Files box, or
- Drag and drop the files you want from your computer into the Files box.
- Click
"Save changes" to submit your changes and return to your course
screen.
Last modified: Monday, 25 August 2025, 3:59 PM